Taco Keychain – Free Crochet Pattern
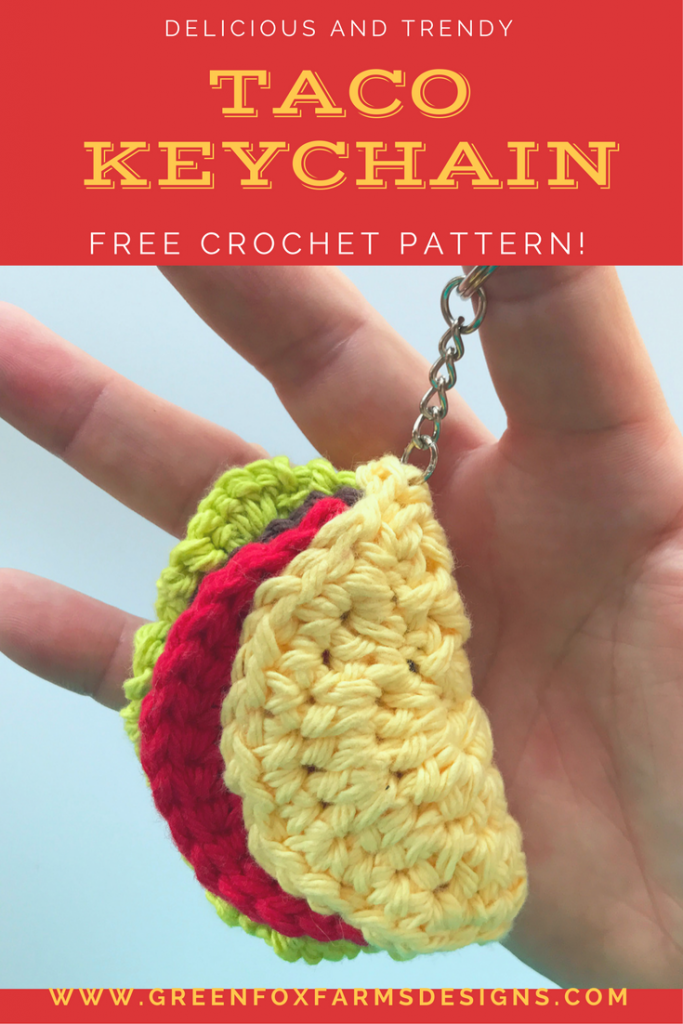
Hello Friends! I am thrilled to bring you another awesome Free Crochet Pattern! Just in time for National Taco Day on October 4th, I have a pretty sweet pattern for you! I hope you enjoy my Taco Keychain Crochet Pattern as much as I enjoyed designing it!

I don’t know about y’all, but in our house Tacos are their own food group. Revered by all, both in food and crochet form! So it was only natural that this fun Taco Keychain pattern should evolve! After the popularity of my Mini Ice Cream Cone Keychains at our monthly Boutique Sale, my brain was bursting with ideas for kitchy keychains.
But I couldn’t have done it alone. You are looking at yet another Crochet Pattern inspired by the whims of my 8 year old daughter and her obsession with keychains! 🙂 The girl loves tacos, and really who could blame her, am I right? She’s pretty good inspiration, too. Check out my Emoji Keychain Pattern if you love fun keychains as much as she does! I would have totally dug the same stuff as a kid, so hey, even better!

This Taco Keychain pattern is quick and fun to make! Makes a fun gift for a new driver, fancy up your kids’ backpacks, or stocking stuffers for all the kids and teens in your life! Add a fun face to really personalize your Taco Keychain, whatever strikes your fancy! No matter how you make it, your DIY Taco Keychain is sure to be a hit! Don’t crochet? You can purchase a Taco Keychain from my Etsy shop here!

Like what you see? Join my Newsletter below!
[mc4wp_form id=”306″]

Click the Buy NOW button below to purchase a $2 PDF
of the Taco Keychain Pattern directly!
TACO KEYCHAIN PATTERN
Materials:
(Click the links below to view & purchase the exact yarn & keyrings that I used to create my Taco Keychains!)
Worsted weight yarn (40-60 yds)
- This pattern uses a Magic Circle. If you need help with this technique you can follow this link to view my video tutorial for the Magic Circle on YouTube or watch the video below!
- This pattern is FREE, but has not been tested by anyone besides myself. Please feel free to share any questions or comments you may have! I welcome your feedback!
- This pattern is my intellectual property. You are welcome to make as many as you like, sell them, give them away, etc. You may NOT sell, or alter and claim as your own this pattern. You may not use my photographs.
- If you want to share this pattern online, you must only share a link to my blog. You may not copy and paste my text / the pattern to another site. Thank you for respecting my work. 🙂
- By using this pattern you are agreeing to abide by these terms.
VIDEO TUTORIAL: HDC MAGIC CIRCLE https://youtu.be/ld8Hqmi-NEE
Back to School Keychain Blog Hop!
I am so excited to be a part of the Back to School Keychain Blog Hop hosted by Creative Snugglies! Each day through the end of August 2021 you can download a FREE Keychain Crochet Pattern by a different designer! TODAY Satuday, August 21, 2021 you can download my Taco Keychain Pattern for FREE!
You need to visit the host blog via the button below to get the COUPON CODE!!
Then click the button below to get the FREE Download! You will be taken to Ravely. Add the pattern to your cart, Make sure you are signed in to Ravelry, add the coupon code and that’s it!
- Finished size should be approximately 3” wide and 3” tall.
- Use Yellow yarn and G 4.0 mm hook
- Begin with Magic Circle or ch 2 and work into the 2nd ch from
hook
-
Leave a long beginning tail for stitching the Taco together.

-
- Finished size should be approximately 2.75”wide and 1.5” tall.
- Use Brown yarn and G 4.0 mm hook
- Begin with Magic Circle or ch 2 and work into the 2nd ch from
hook


- Finished size should be approximately 3”wide and 1.75” tall.
- Use Green yarn and G 4.0 mm hook
- Begin with Magic Circle or ch 2 and work into the 2nd ch from
hook

- Finished size should be approximately 2.5”wide and 1.5” tall.
- Use Red yarn and G 4.0 mm hook
- Begin with Magic Circle or ch 2 and work into the 2nd ch from
hook


Stitch the Lettuce, Tomato, and Meat together:
-
- Begin by weaving in all BUT ONE of the ends of these 3 pieces. You will use the one remaining end to baste these parts together.
-
- Stack the pieces with Lettuce on the bottom, followed by Meat, and Tomato on Top.
- Run a stitch back and forth through the stack of Fillings along the bottom edge, from one side to the other until they are stitched together. Weave in the remaining end of the yarn.

Stitch the Fillings into the Taco Shell:
- Begin by laying the taco shell open, with the wrong side up.
- Place the stack of Filling pieces on one half of the shell, and bring the other side of the shell up to meet the other edge. You may have to tug on the shell a bit to get it in position.
- Pin or hold the shell in place and use the yarn ends from the shell to stitch the shell together with fillings inside.
- Use both ends from the shell, starting at the either edge of the Taco and secure the lower curve of the shell to the fillings on one side, then the other, before stitching the rest of the shell.
- Stitch all the way around the edge of the Taco Shell, at R4 to secure the Taco together.

Adding a Keyring to your Taco Keychain:
- Simply insert a split key ring or jump ring into one of the stitches from your initial magic circle on the top of the key ring. Secure. That’s it! I am a huge fan of these keychains with a chain and split jump ring. They are so easy to attach, see below!

That’s it! I can’t wait to see your creations! Please share your finished Crochet Taco Keychains on Ravelry and social media! Don’t forget to tag me in your photos so I can see what you’ve made! If you enjoyed this Taco Keychain Pattern and want to see other Free Crochet Patterns like this one, please share my Blog Post with your friends and subscribe to my newsletter! Use the social media buttons above or below! Thanks you for your support! Please don’t hesitate to contact me with any questions you may have, I am happy to help!
 Make sure to share your pics and tag #greenfoxfarms #greenfoxfarmsdesigns @greenfoxfarms on any social media! Please share your finished creations on Ravelry too!
Want to see more? Sign up for my Newsletter!
[mc4wp_form id=”306″]
You may also enjoy these posts:

Crochet Emoji Keychain Pattern
Please note: This post may contain affiliate links. These allow me to make a small percentage from any purchase you may make, but do not affect the price you pay in any way. They do allow me to continue to bring you great FREE content like this! Thanks for your support!


Hi Lisa! Thanks for sharing such a cute pattern. I loved this taco so much I had to make one for myself right away! I only hit a few snags and my tomato came out more of a fan shape than a half circle. But the finished product looks pretty good! Now all I need are the keychains you recommended. Thanks again for such a great pattern!
Hi Sarah!
So glad you enjoyed making the Taco! I am happy to share!!
Thanks for visiting!
Lisa Fox
I did it!!! Such a great pattern…and I made a taco!! Lmao…Thank you
Hooray! Way to go Marion. So glad you enjoyed the pattern and thanks for visiting!
Happy Hooking, Lisa
I am head over heels with this darling taco key chain
Thank you
Kay Swanson Torrence