Sweet Stripes Beanie Crochet Pattern
Don’t wear bad hats! You know the hat I mean. It feels fine for about ten minutes… then the band starts pressing a line into your forehead. So you push it back, and then it won’t stay put. Sound familiar? The Sweet Stripes crochet beanie isn’t that hat!
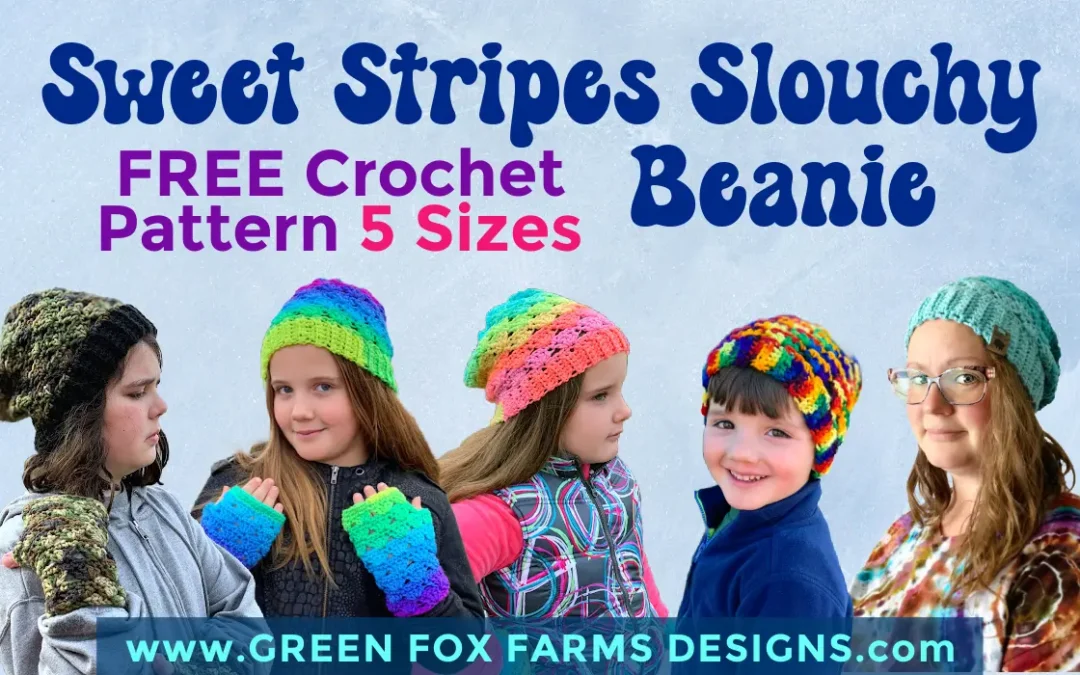
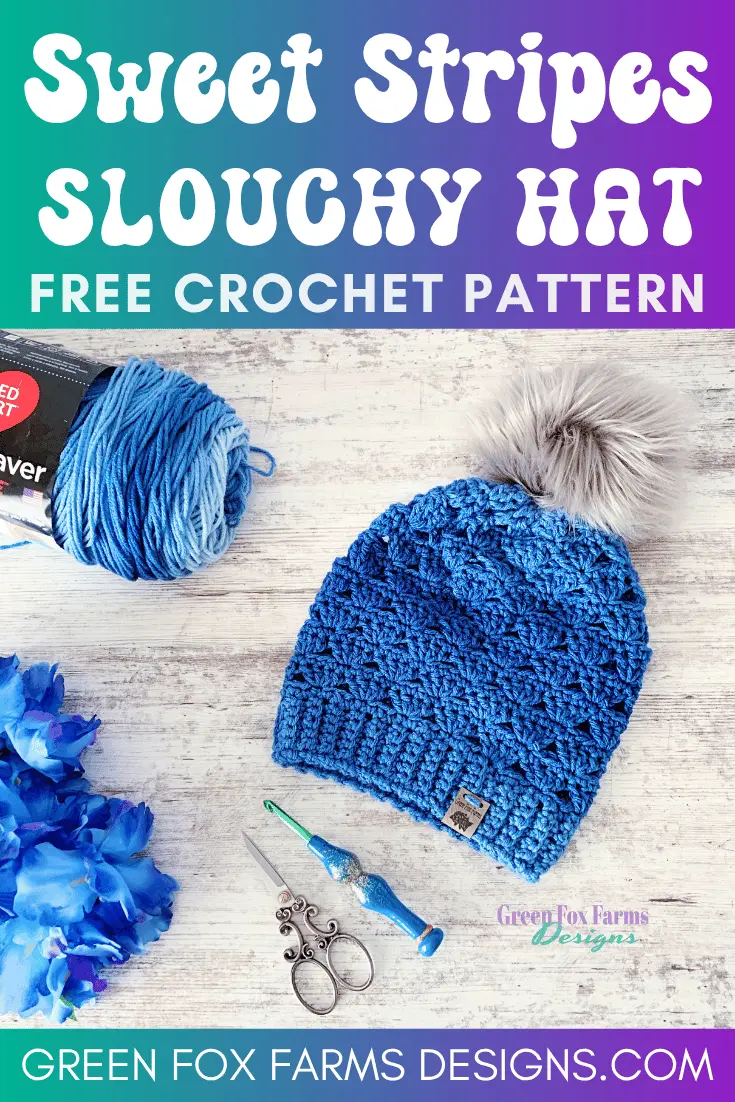
This free crochet beanie pattern is for anyone who wants to pull a hat on and then forget they’re wearing it. The Sweet Stripes Beanie has a stretchy band worked in rows, and a soft, open texture through the body, so it settles on your head instead of gripping it. Make it short like a regular beanie, or keep going a few more rounds and let it slouch. And of course I’ve written it in five sizes, from baby all the way up to large adult, so the whole family can wear one.
DISCLOSURE: This post may contain affiliate links. These allow me to make a small percentage from any purchase you may make, but do not affect the price you pay in any way. You can read all the details here –> Privacy Policy.
Easy Crochet Beanie Pattern for Beginners
The Sweet Stripes Beanie is a free crochet beanie pattern that works up in an evening. The pattern repeats, using a combination of basic stitches, so beginners can make it too. Five sizes cover baby through large adult, and every size but baby comes in two lengths. A good make for fall and winter gifting, and any size takes less than one skein.

Why This Crochet Beanie Doesn’t Squeeze
Many free hat patterns start you at the crown with a magic circle and work outward. It can be a great method, but I decided to make the Sweet Stripes beanie go the other way. You start with the band, worked flat in rows, then seam it into a ring and build the hat up from there. Because those rows are worked in back loops only, the band stretches and springs back instead of pulling tight. That’s my whole trick! Your head decides how much give it needs, not the pattern.
The body of the hat helps too. The stitch repeat leaves a little space in the fabric, so it drapes rather than pulls. And there’s exactly two (2) decrease rounds, right at the very top, where nobody will notice it anyway.
If you’d rather work from the crown down, no hard feelings – I have a magic circle tutorial if that’s your preference. But you won’t need it if you follow the pattern as it’s written.
Find More Sweet Stripes Crochet Patterns!
Choosing Your Yarn
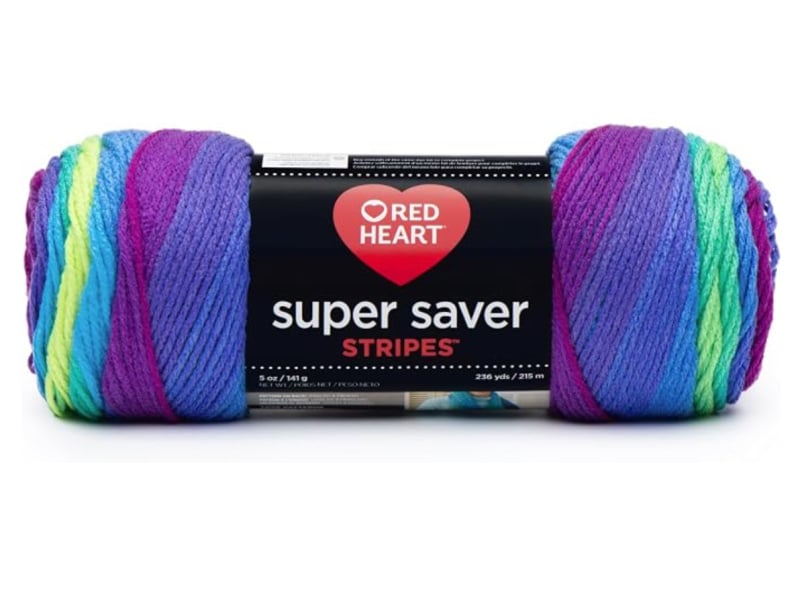
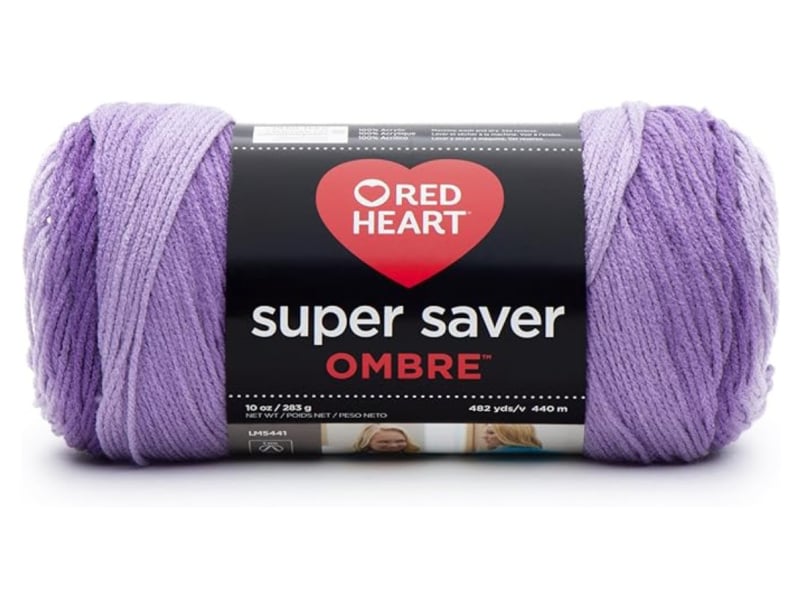
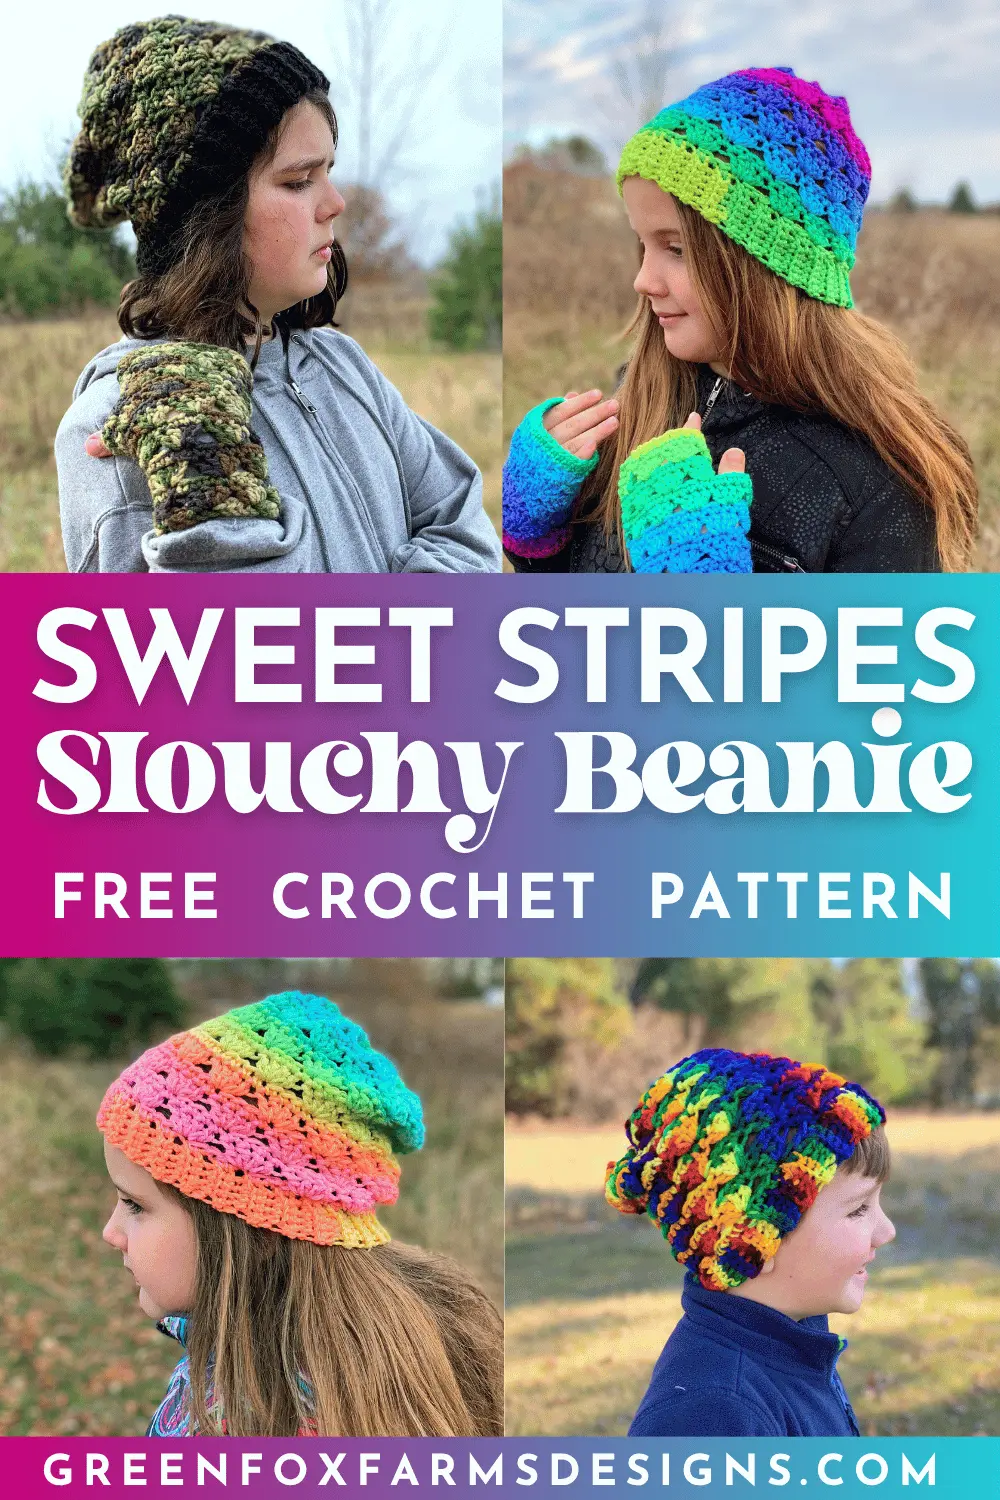
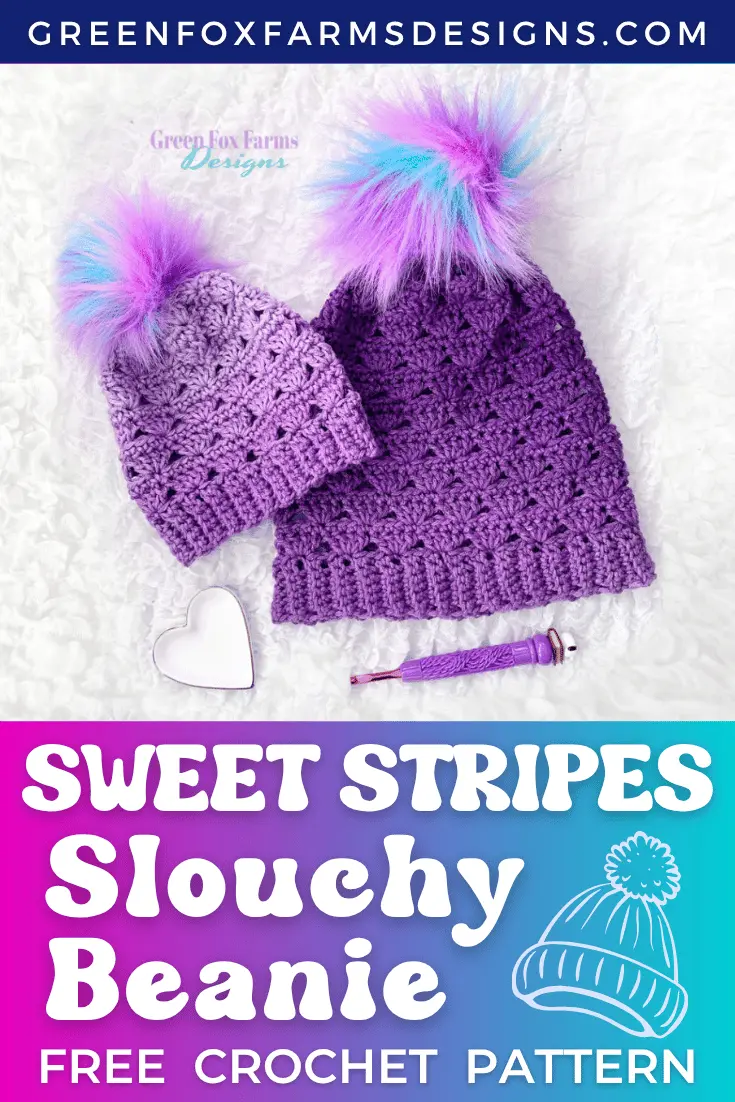
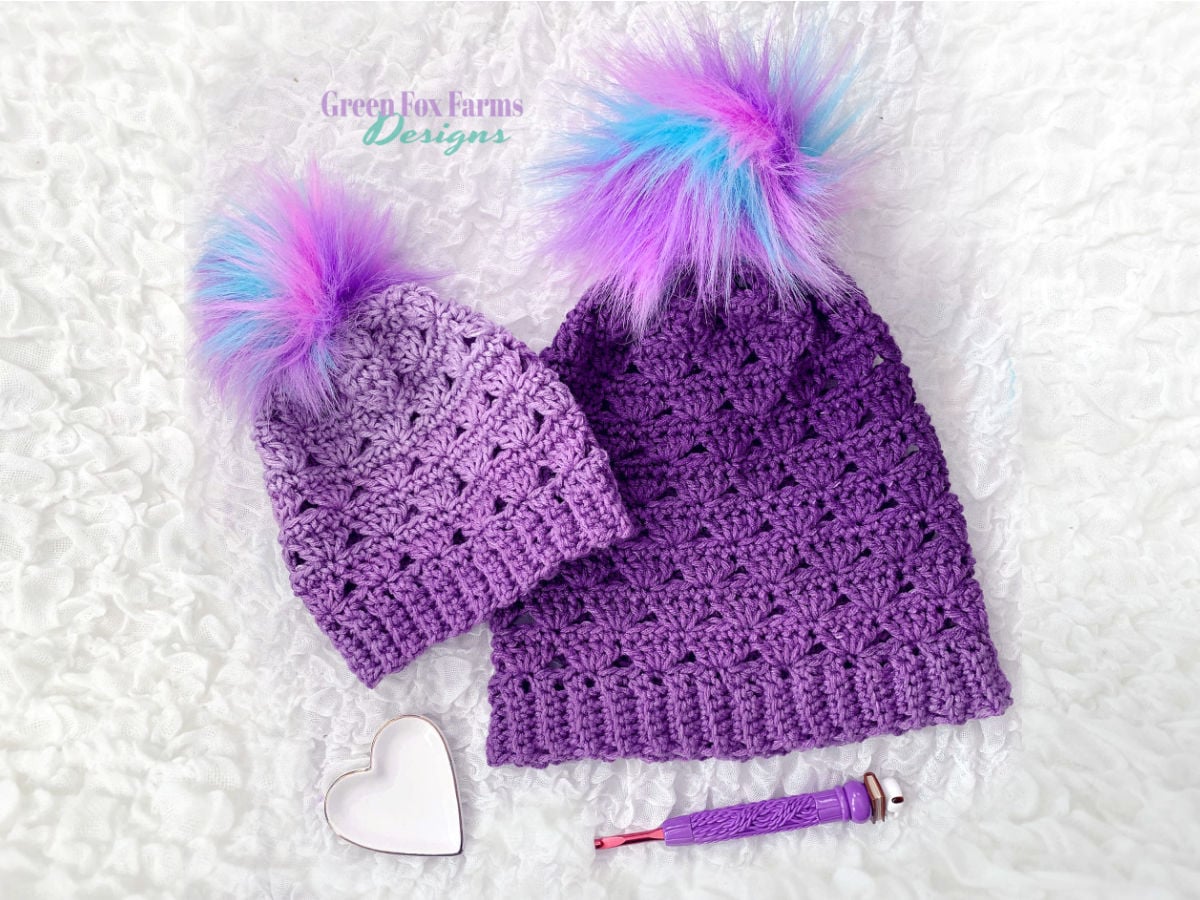
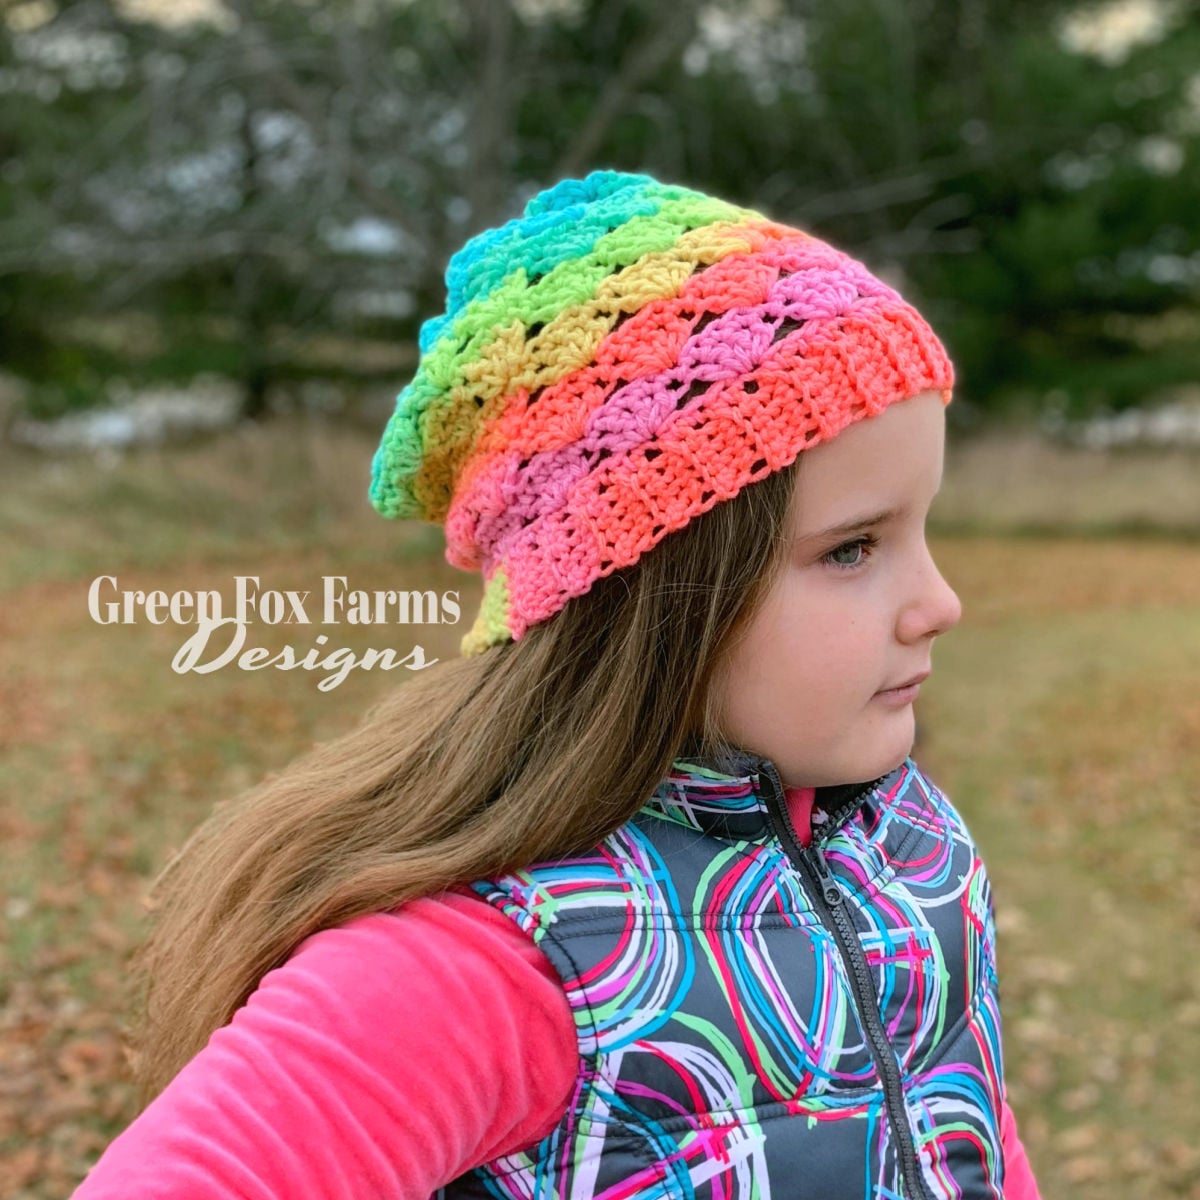
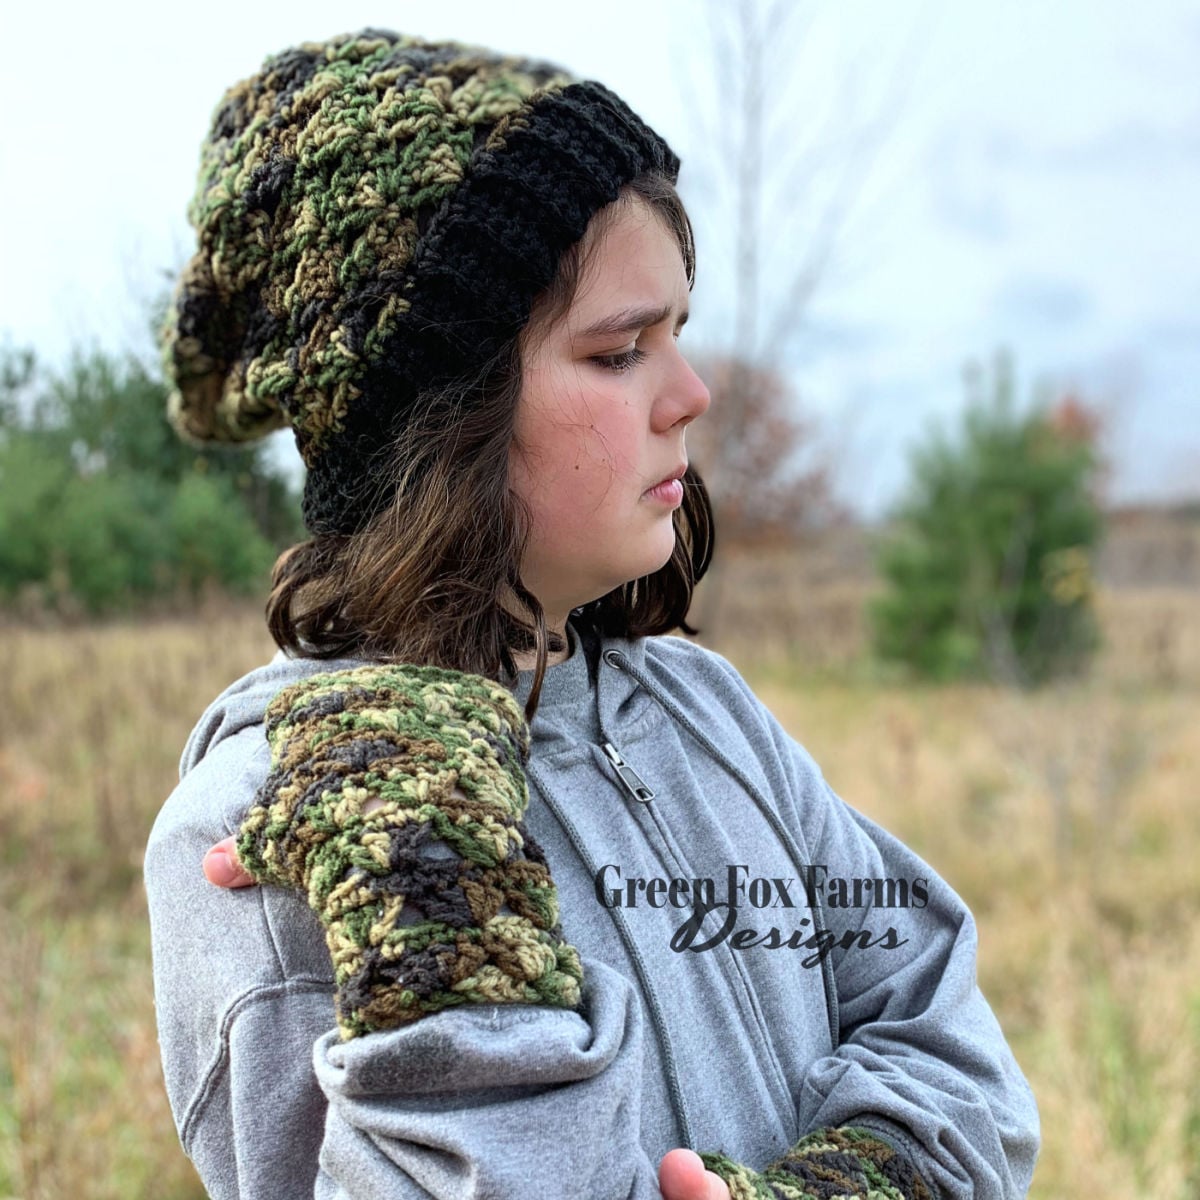
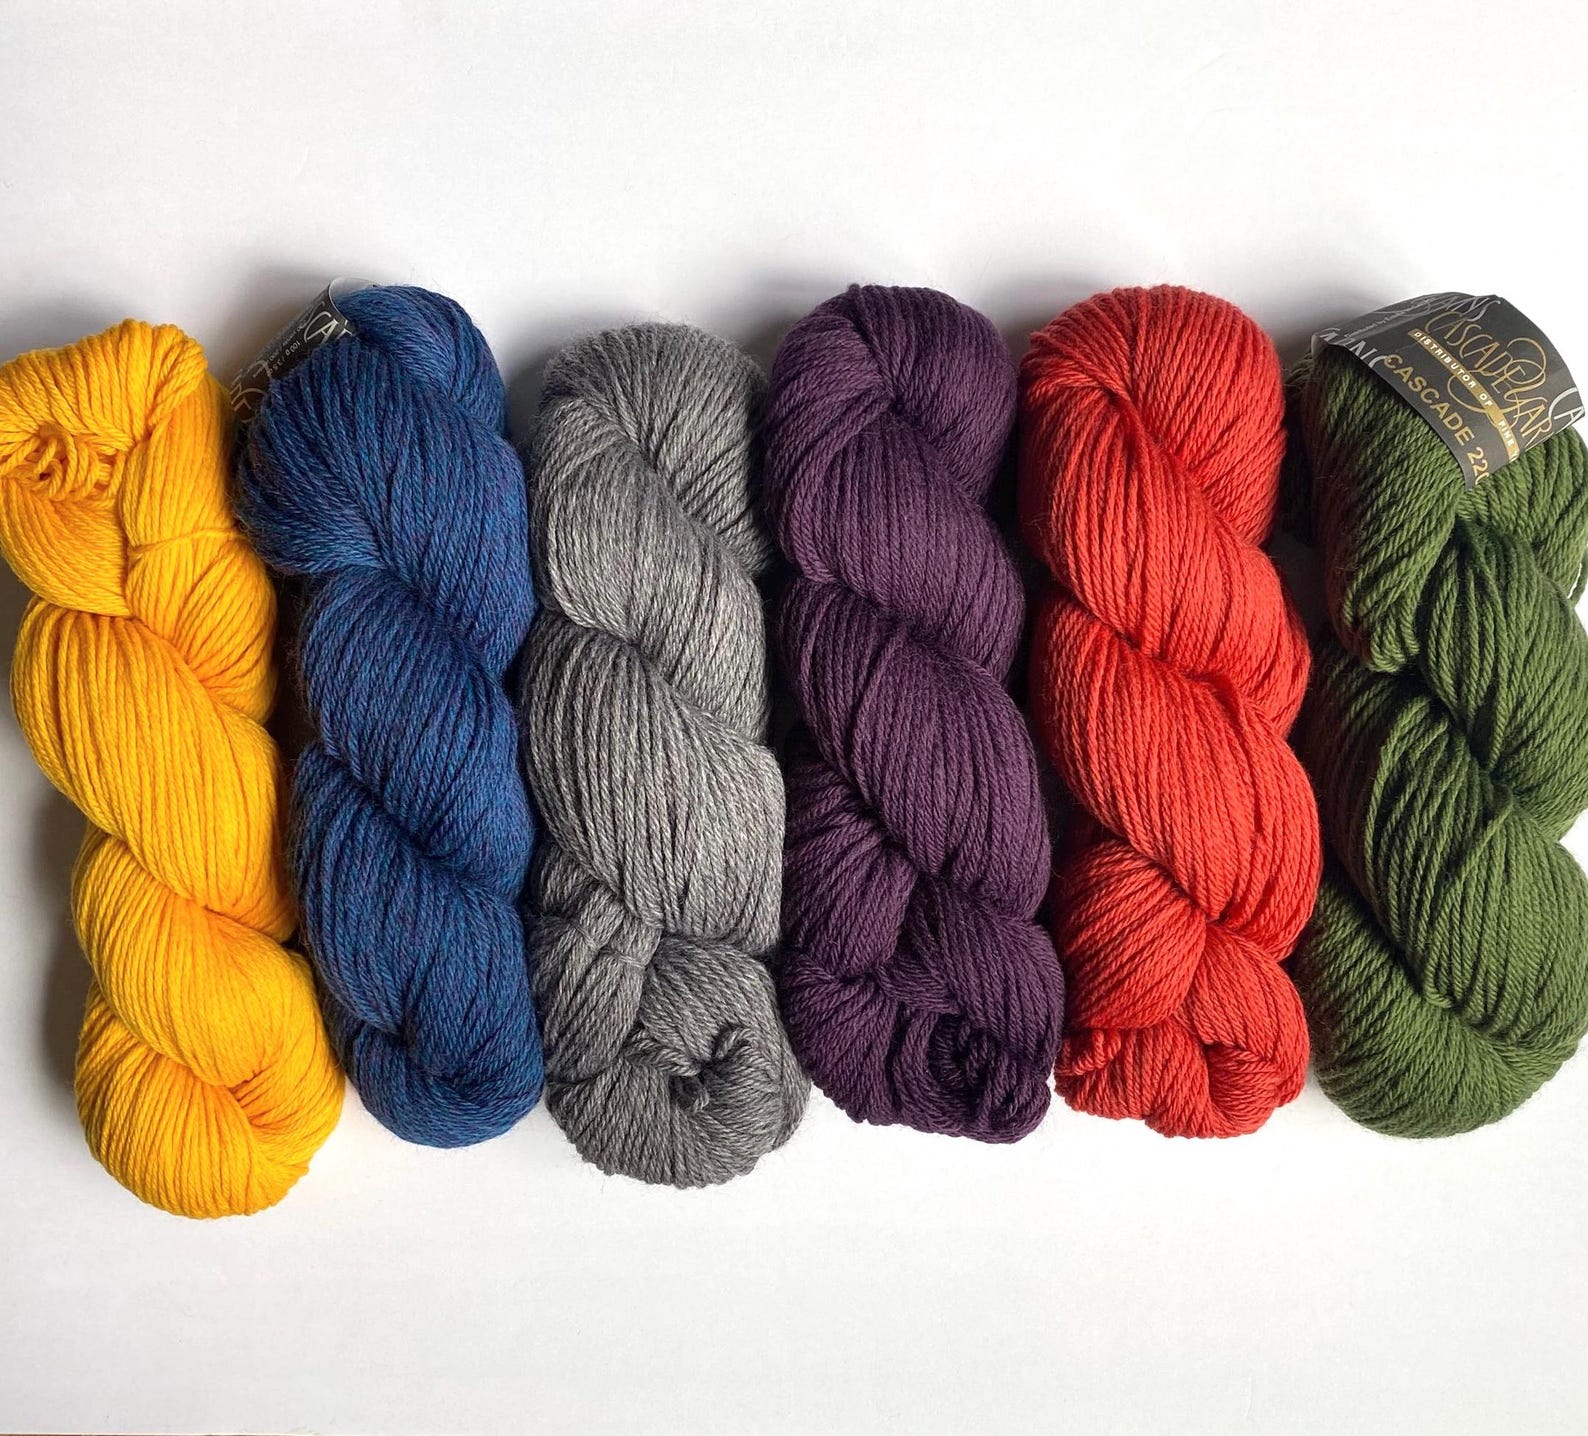
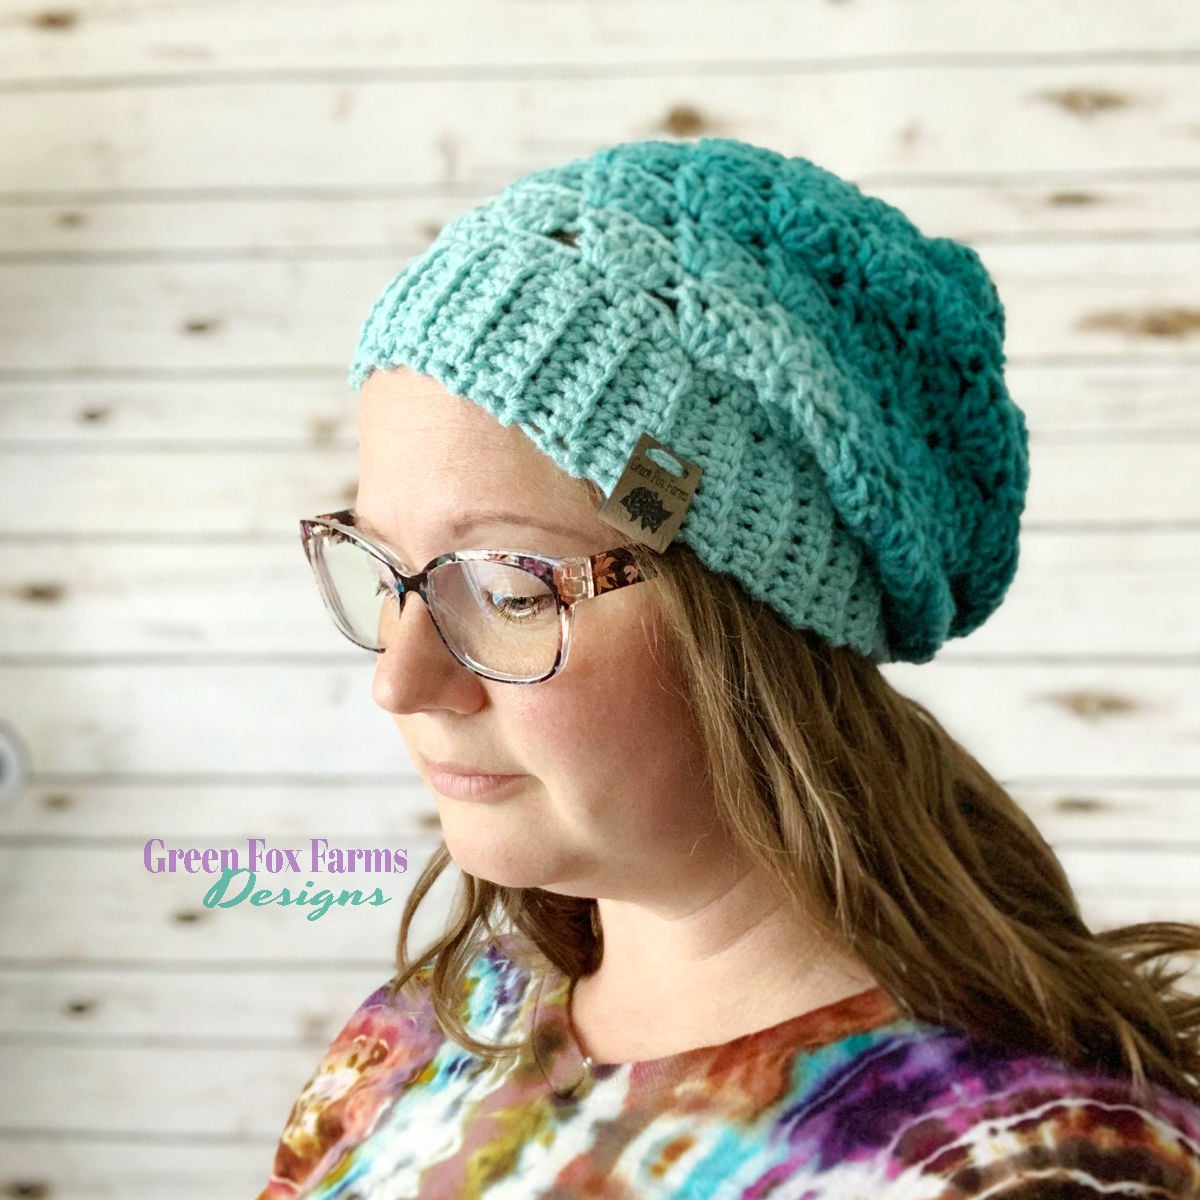
Any worsted weight 4 yarn will do here. I made my samples in a combo of stunning and colorful Red Heart Super Saver Stripes, and also in the equally stunning, but subtle Red Heart Super Saver Ombrés, and honestly the ombrés might be my favorite – you get that gradual color shift without needing to weave in a single extra end!
That’s the thing about a self-shading yarn on a textured stitch. The color moves as you crochet, keeping the fabric interesting, which makes the final piece look like you did something complicated! Of course you didn’t, but nobody has to know. 🤫
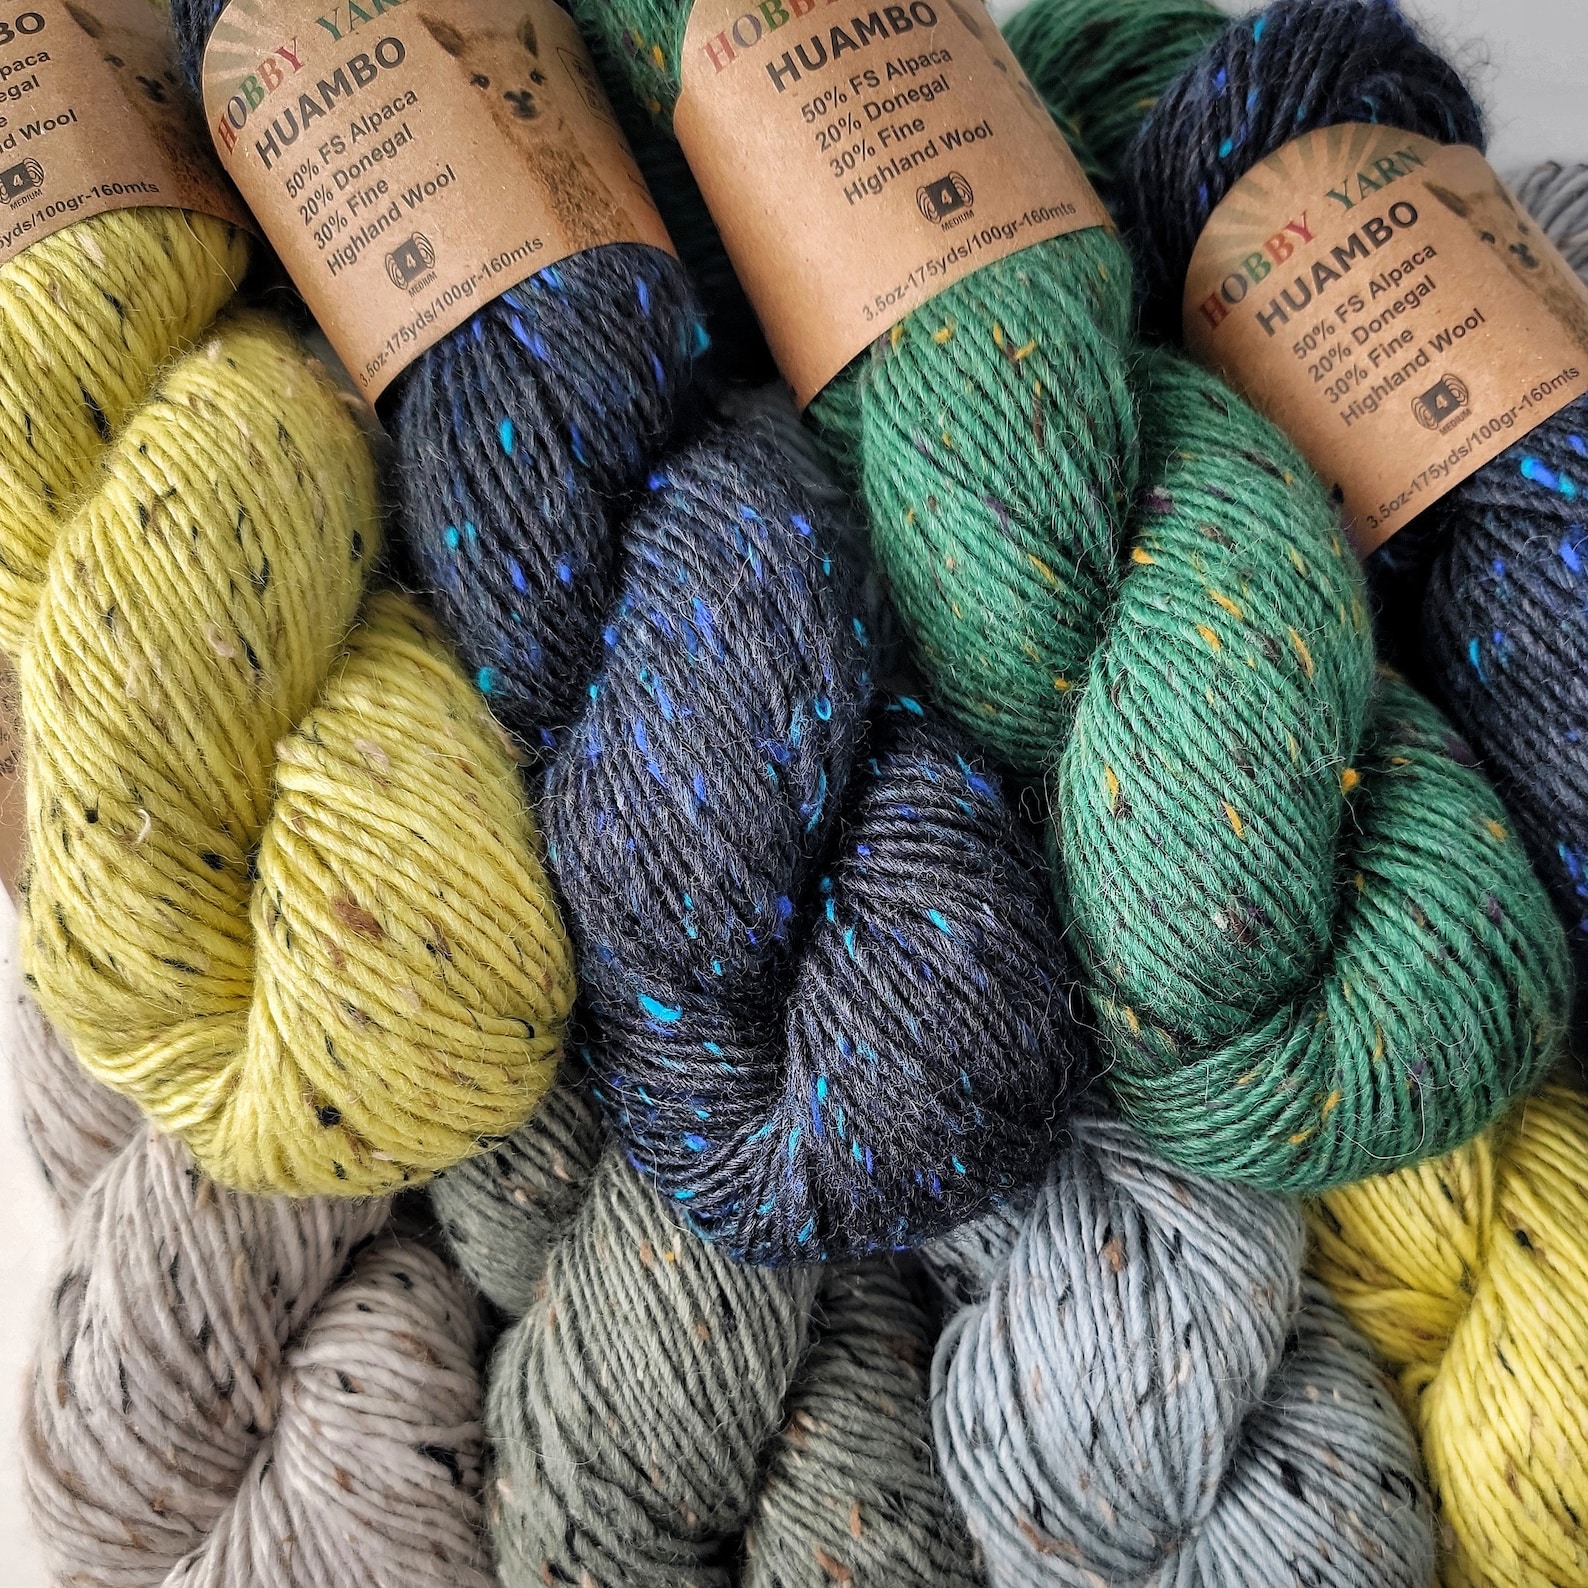
If you’re using leftovers, any size hat in this pattern takes less than half of a full skein, so this is a good one for the leftover half-skeins we all keep to use someday!
Like Free Patterns? Then make sure you check out my most popular Free Pattern –> 8 Pocket Dice Bag Free Pattern! Want to see even more? You can find all of my other Free Crochet Patterns <– Right here!!

Crochet Hat in Five Sized with Two Lengths
I have five kids, so I don’t design a hat unless everybody can wear one. Every size except baby gives you two options: the full slouch, or a shorter beanie length. Same hat, same band, you just stop sooner. That’s nine hats out of one pattern, which comes in handy when the teenager wants slouch and her dad absolutely does not.
✦ Family Sizes: ✦
- Baby: 8″ across x 7″ hat length (beanie length only)
- Toddler: 8.5″ across x 9″ slouch, or 7″ hat length
- Child: 9″ across x 10″ slouch, or 8″ hat length
- Teen / Small Adult: 9.5″ across x 11″ slouch, or 8″ hat length
- Large Adult: 10.5″ across x 12″ slouch, or 9″ hat length
Widths are measured across the body of the hat, unstretched, and the length includes the band. It’ll stretch several inches on, so don’t panic if it looks a little small when laid flat.
Thank you Free Crochet Beanie Pattern Testers!
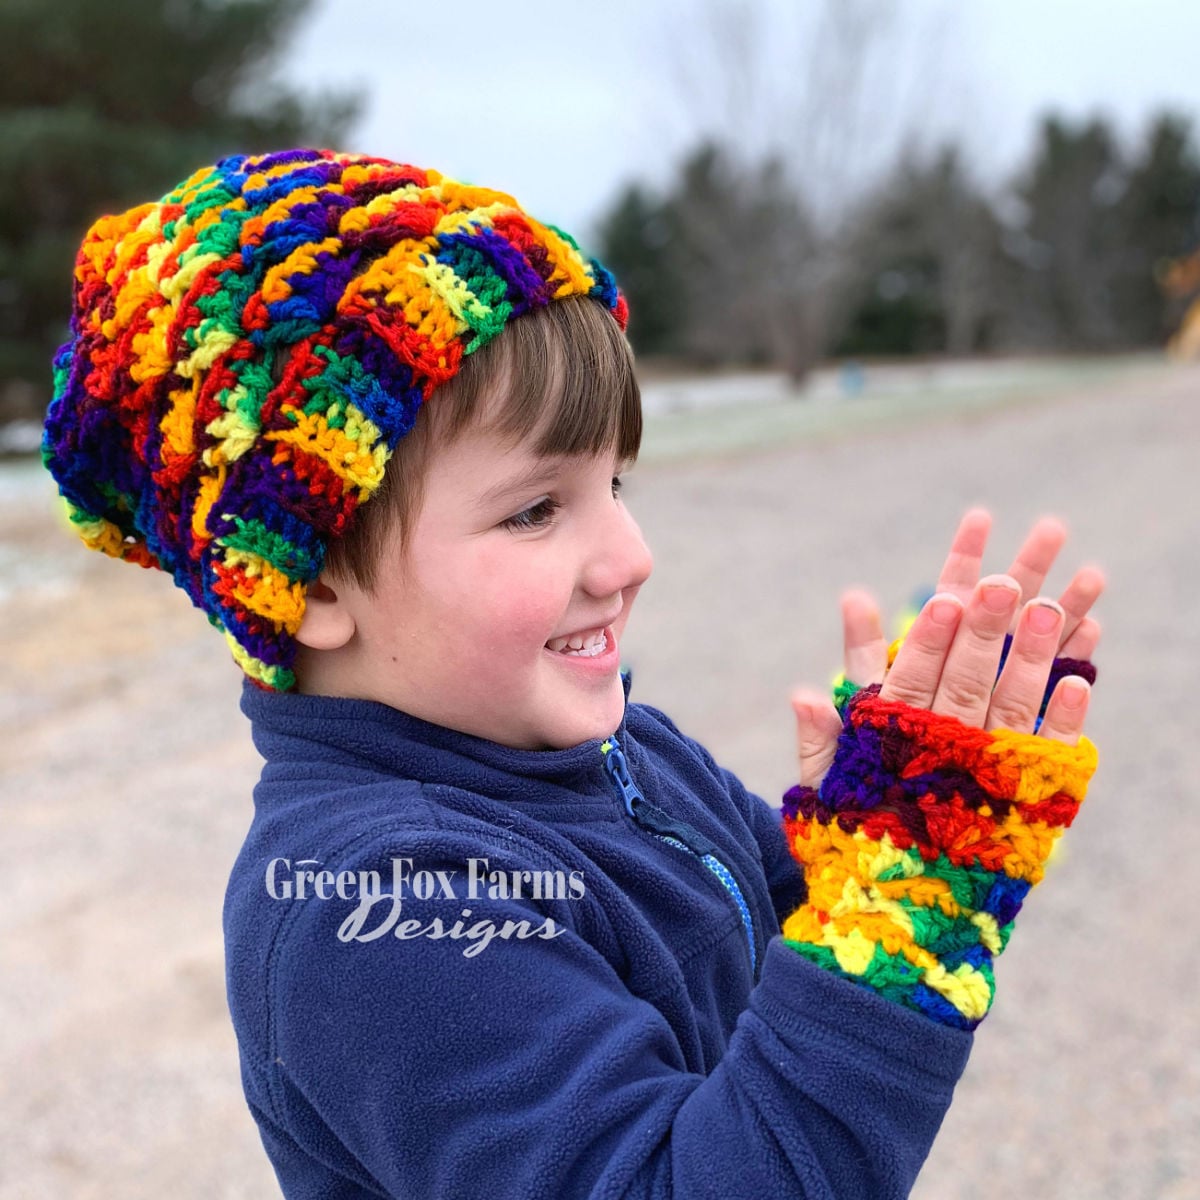
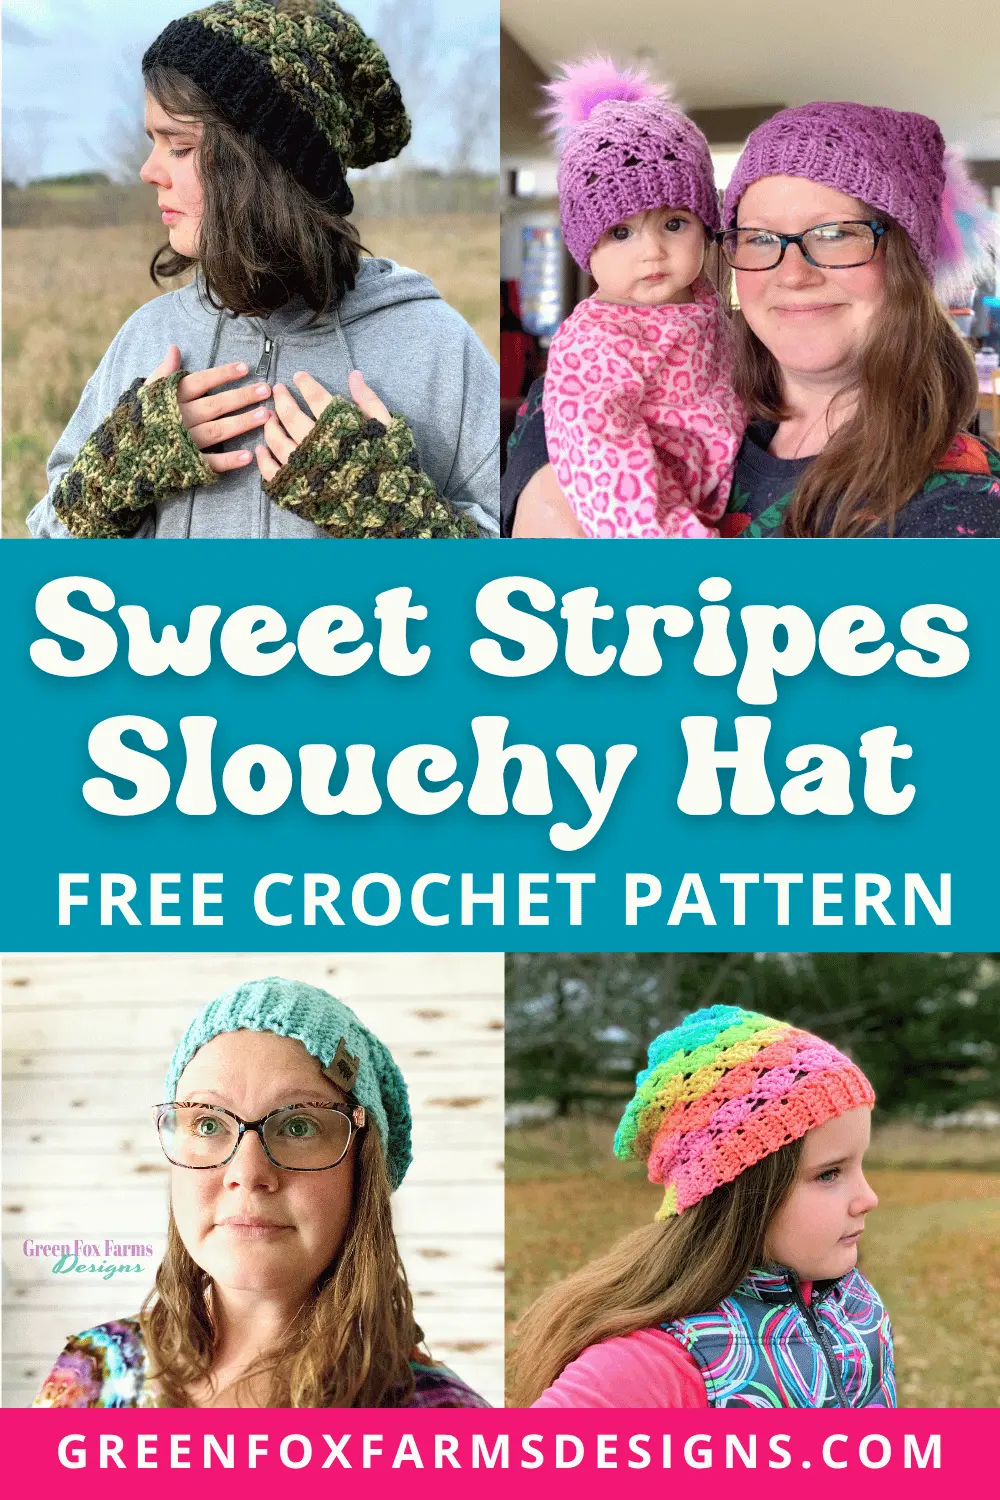
It was so much fun to see all the gorgeous colors and styes my testers chose! My pattern testers did a beautiful job creating their own Sweet Stripes Slouchy Hats ! I love getting to see what y’all make using my designs! I want to give a deep felt thanks to all of my testers for their dedication and for sharing their amazing work! Their invaluable feedback enables me to bring you higher quality patterns! Don’t you love these beautiful Sweet Stripes Crochet Slouchy Beanies made by my wonderful group of pattern testers?

Want the Power to Pause Your Project??
Want a better way to keep track of your works in progress? Download a FREE copy of my Printable WIP Cards and never forget which hook, or yarn, or pattern you were using again!

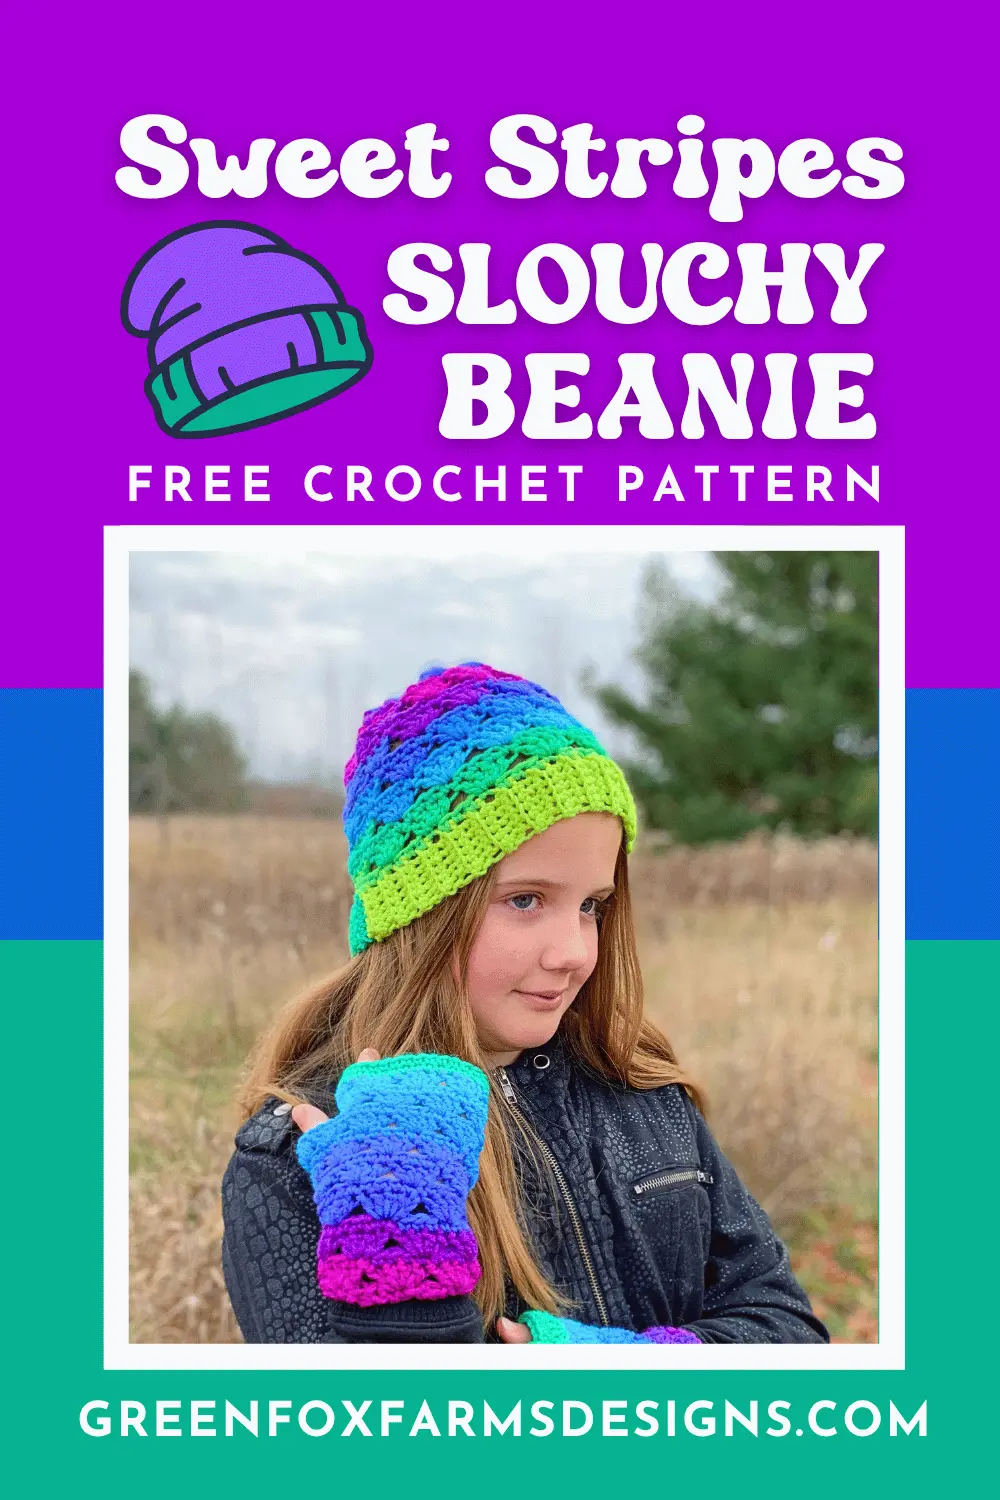
Make your own Crochet Beanie for Winter!
This crochet pattern is written in US English terms
Materials:
- YARN: Red Heart Super Saver Ombré Worsted Weight 4 yarn, (100% Acrylic, 283 g/10 oz, 440 meters/482 yards) – OR – Red Heart Super Saver Stripes Worsted Weight 4 yarn, (100% Acrylic, 141 g/5 oz, 215 meters/236 yards)
- Sample Colors: Violet Ombre, True Blue Ombre, Deep Teal Ombre, Favorite Stripe, Parrot Stripe, Retro Stripe
- Yardage: 80 – 180 yards
- HOOK Size:
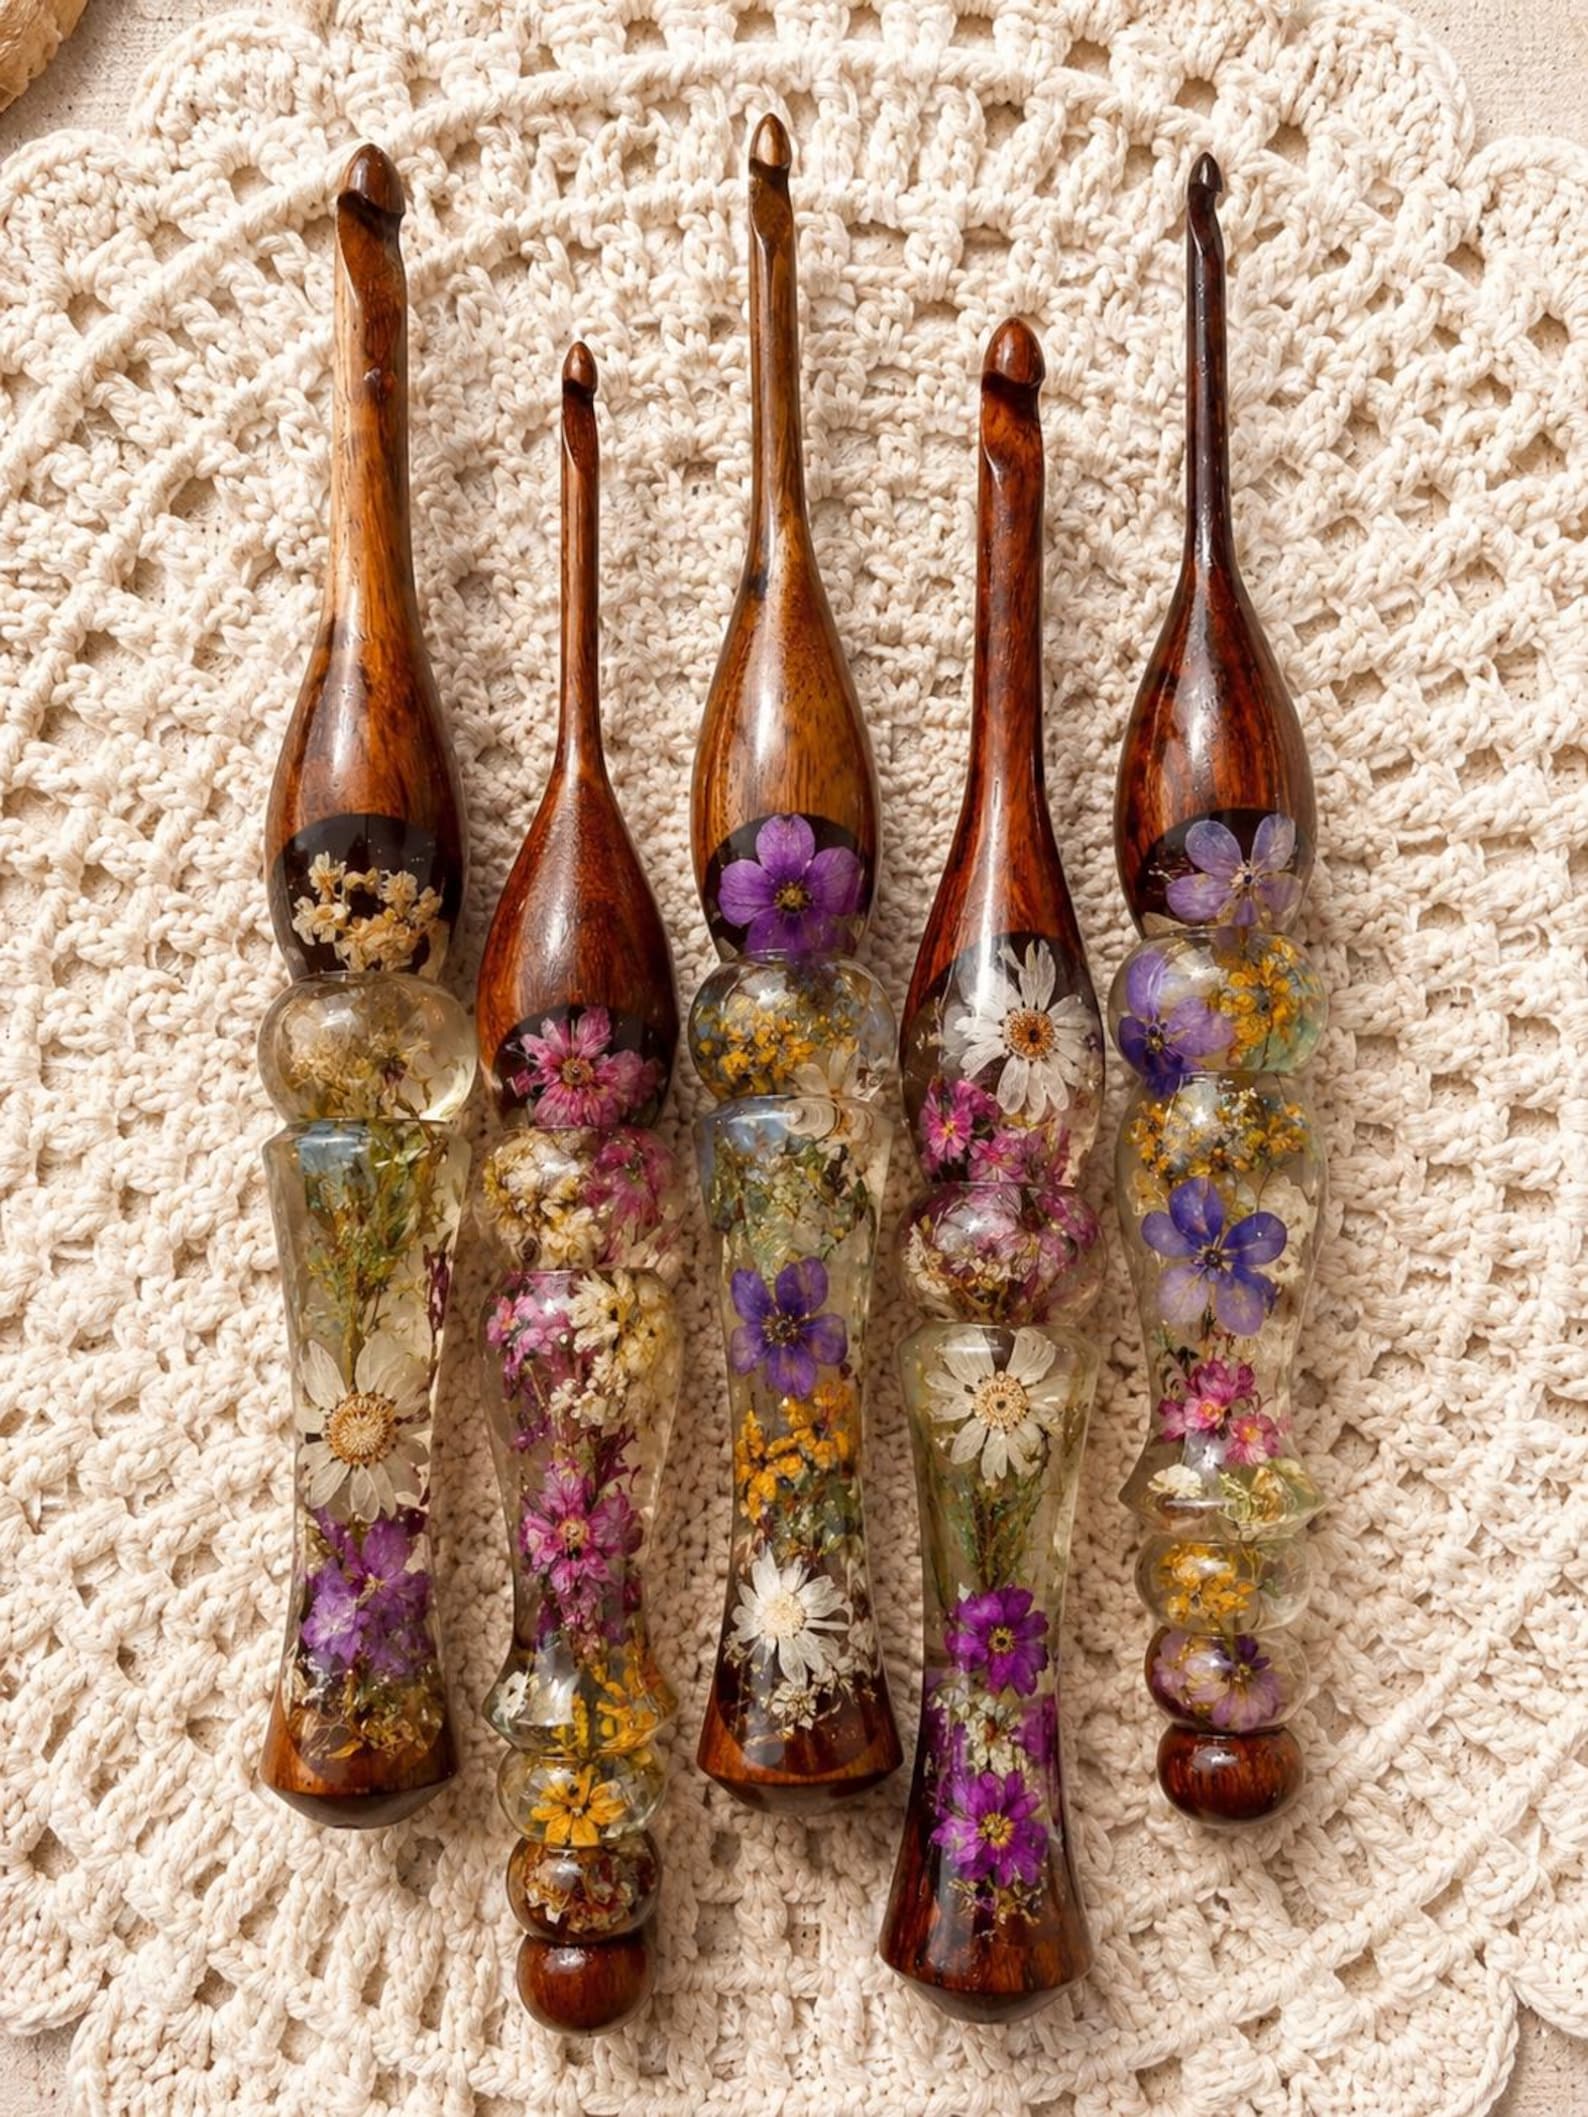
- US K/10.5 6.5 mm for Hat Body, US G/6 4.0 mm for Brim only ← I highly recommend these gorgeous beauties! My 100% go to hooks are Furls Streamline Metal Hooks, I loved using mine to create this Crochet Beanie
CROCHET BEANIE PATTERN SIZES:
Baby Hat: 8” across x 7” long
Toddler Hat: 8.5” across x 7-9” long
Child Hat: 9” across x 8-10” long
Small Adult Hat: 9.5” across x 8-11” long
Large Adult Hat: 10.5” across x 9-12” long
Experience Level: EASY – Beginner friendly pattern!
Free Crochet Beanie Pattern Gauge: 11 dc x 6 rows = 4” square
Pro Tip! Make a gauge swatch before you start so your hat fits the head you’re making it for. Go UP a hook size if you have more stitches than that. Go DOWN a hook size if you have fewer.

Pattern Stitches: Using US English Crochet terms
st(s) – stitch(es)
sp(s) – space(s)
sl st – slip stitch
ch(s) – chain(s)
sc – single crochet
dc – double crochet
sc3tog – decrease by sc 3 stitches together
BLO – back loop only
yo – yarn over
FO – fasten off
Special Stitches: Single Crochet decrease over 3 stitches (see instructions below)
Special Stitches:
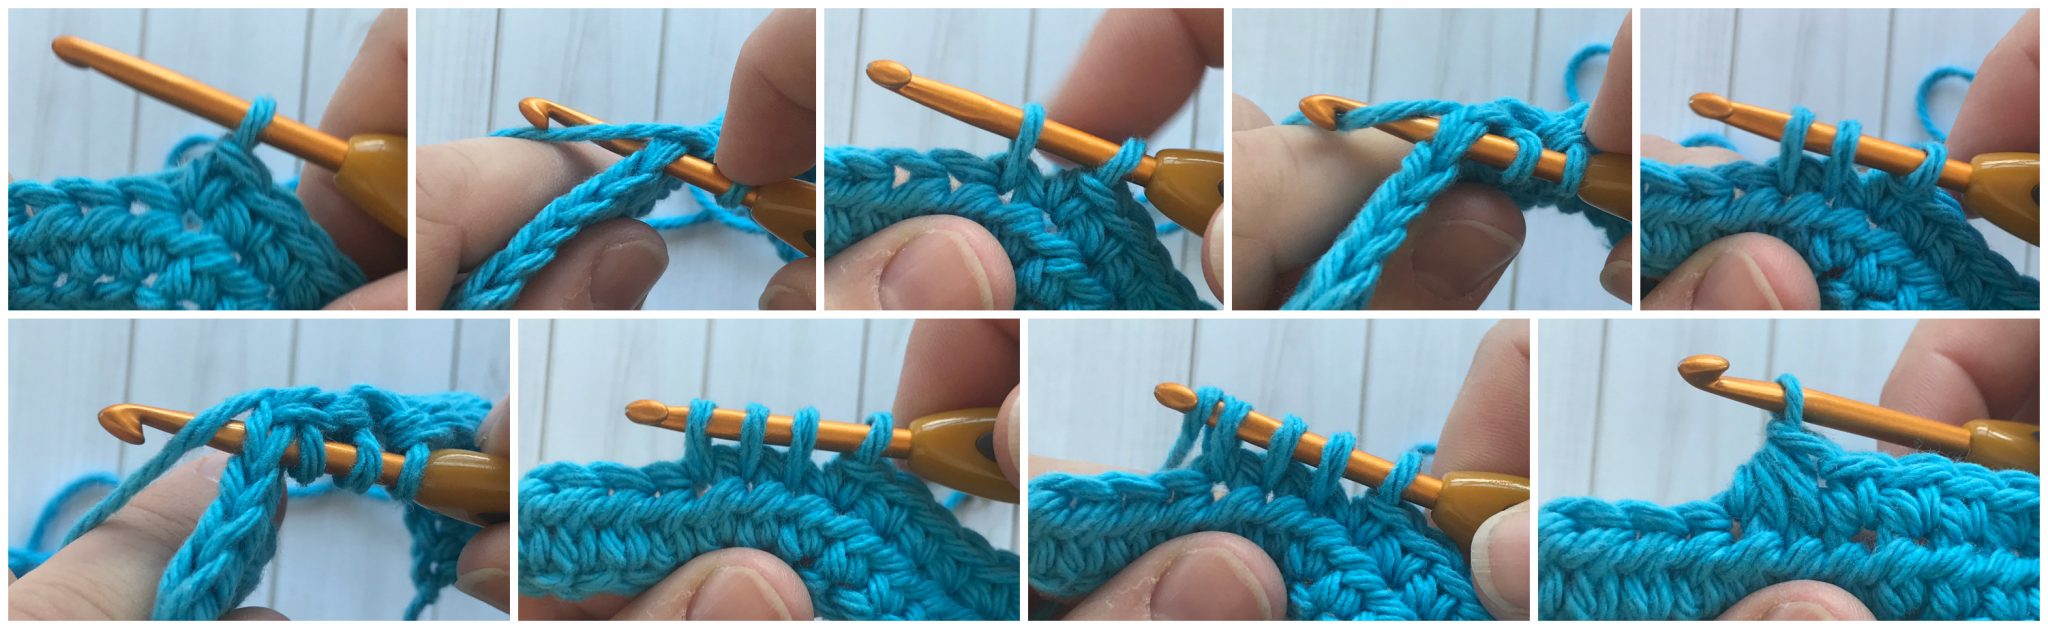
Single Crochet Decrease (sc3tog):
Insert the hook in the next stitch, yo and pull up a loop (2 loops on hook), insert the hook in the next stitch, yo and pull up a loop (3 loops on hook), insert the hook in the next stitch, yo and pull up a loop (4 loops on hook), yo, pull through all 4 loops on hook. Single Crochet Decrease complete.
Want the Power to Pause Your Project??
Want a better way to keep track of your works in progress? Download a FREE copy of my Printable WIP Cards and never forget which hook, or yarn, or pattern you were using again!
PATTERN NOTES:
- Read through the entire pattern first.
- Be sure to make a gauge swatch to ensure your crochet beanie will fit!
- Beginning ch of SC rounds does NOT count as a stitch. First st of these rounds should be placed in the same st as the beginning chain.
- Slip stitches are not counted except when seaming brim.
- Beginning ch of DC does count as stitch.
- Repeat stitches between [ and ] the number of times indicated.
- Place stitches between ( and ) in the same stitch.
- Instructions are for slouch, followed by adaptions for beanie length in each size, except Baby which is only beanie length.
- The brim is worked in rows then slip stitched together. Hat is worked in joined rounds into top of brim and then worked from bottom/brim to top.
- The brim should be slightly narrower than the Hat Body. Hat will stretch several inches. Width measurements given are for the body of the unstretched hat.
- This pattern is FREE, and has been thoroughly tested and tech edited. Please feel free to share any comments or ask any questions you may have! I welcome your feedback!!
- This post and all it contains including the pattern and photographs are my intellectual property and copyright protected property of GreenFoxFarms LLC © 2018. You are welcome to make as many as you like to sell, give away, etc. You may NOT sell, or alter and claim as your own this pattern. You may not use my photographs. This pattern is not for mass production.
- If you want to share this original pattern online, you must only share a link to my blog post. You may not copy and paste my text or the pattern to another site. Thank you for respecting my work.
- By using this pattern, you are agreeing to abide by these terms.

Tips for How to Hook Your Best Beanie!
- Swatch the band, not the body. The band is what determines the fit, so after you check your gauge, work up the band and test the size and stretch to make sure it’s a good fit.
- Count your band rows, not inches. Row gauge varies more than you’d think between crocheters. The stitch counts in each size are what keep Round 1 of the body working out evenly.
- Not sure which length? Make the slouch. You can always fold the band up an extra turn to shorten it, but you can’t add rounds back once you’ve closed the crown.
- A pom pom changes everything. A faux fur pom uplevels a plain hat. Sew it on so it can be removed before washing, and then you can easily re-sew it in place again.
- Batching for gifts? Make all the bands first in one sitting. They’re the repetitive part, and getting them out of the way means the rest feels like the fun bit.
- Selling at markets? Make both lengths in the same colorway for comparison. People pick with their hands, and having the choice sitting side by side sells more hats than either one alone.
Crochet Beanie Pattern PDF!
This easy Sweet Stripes beanie pattern is now available for purchase in my Ravelry and Etsy Shops!
- The free pattern is available here on this page.
- Want an ad-free, printer-friendly PDF? Grab it for a small fee in my shops.
- Saving 💜 the pattern on your favorite platform helps more people find it!
- Thanks so much for your support, I truly appreciate it! 😊
Just click the buttons below to find the pattern PDF available for purchase!
Don’t crochet? I would love to help you Learn to Crochet with my fun Crochet Tutorials! There’s a video tutorial for all the different basic stitches, which will help you uplevel your skill level in no time!
Do you enjoy discounts? How about specials, exclusive sneak peeks, and giveaways? If so, you want to join my VIP List and/or Facebook Community where you can find all of those things AND a special coupon to use on patterns in my Etsy shop or Ravelry store! In addition, my VIPs are the first to hear about new pattern releases, sales (some are exclusive to the group/list), CALs (crochet alongs) and lots of fun crochet discussions!
Pattern Download RAVELRY
Click the Buy NOW button below to purchase a Printer Friendly, Ad-Free, PDF Download version of the Sweet Stripes Crochet Slouchy Beanie Pattern on RAVELRY!
Pattern Download ETSY
Click the Buy NOW button below to purchase a Printer Friendly, Ad-Free, PDF Download FULL Premium version of the Sweet Stripes Crochet Slouchy Beanie Pattern on ETSY!

SWEET STRIPES Free Crochet Beanie Pattern
Pattern Directions:
Baby Free Crochet Beanie Pattern:
- Finished size should be approximately 8” across x 7” length.
- Brim is created first in rows, then seamed and hat is worked in the round.
BABY BRIM:
Row 1: Ch 6, sc in 2nd ch from hook, and next 4 chs, (5 sc).
Row 2: Ch 1, turn, work in BLO, sc in each st, (5 sc).
Row 3-48: Repeat Row 2, (5 sc, 46 rows). Do not FO. Bring the ends together and seam together by sl st through both loops of Row 48 and beginning chain. Turn the seam to the inside, and continue with instructions for the rest of the hat below.
BABY HAT BODY: Work along the top edge of the brim.
Round 1: Ch 1, work 48 sc evenly around top of the brim, sl st to join, (48 sc).
Round 2: Ch 3 (counts as 1st dc here & throughout), 3 dc in same, skip next 3 st, [4 dc in next, skip next 3 st] 11 times, sl st to 3rd ch to join, (48 dc).
Round 3: Ch 1, sc into each st around, sl st to join, (48 sc).
Round 4: Repeat Round 2 (48 dc).
Round 5: Repeat Round 3 (48 sc).
Rounds 6 – 11: Keep alternating Rounds 2 & 3, ending with Round 3 repeat, (48 sts).
Round 12: Ch 3, 2 dc in same, skip next 3 sts, [3 dc in next, skip next 4 st] 4 times, 3 dc in next, skip next 3 sts, [3 dc in next, skip next 4 st] 4 times, sl st to 3rd ch to join, (30 dc).
Round 13: Ch 1, sc3tog 10 times, sl st into 1st st (10 sc). FO leaving a long tail. Use the tail to tighten up the opening, and weave in the ends. Attach Pom Pom if desired.
Toddler Slouchy Pattern:
- Finished size should be approximately 8.5” across x 9” length.
- Brim is created first in rows, then seamed and hat is worked in the round.
TODDLER BRIM:
Row 1: Ch 6, sc in 2nd ch from hook, and next 4 chs, (5 sc).
Row 2: Ch 1, turn, work in BLO, sc in each st, (5 sc).
Row 3-52: Repeat Row 2, (5 sc, 50 rows). Do not FO. Bring the ends together and seam together by sl st through both loops of Row 52 and beginning chain. Turn the seam to the inside, and continue with instructions for the rest of the hat below.
TODDLER SLOUCHY HAT BODY: Work along the top edge of the brim.
Round 1: Ch 1, work 52 sc evenly around top of the brim, sl st to join, (52 sc).
Round 2: Ch 3 (counts as 1st dc here & throughout), 3 dc in same, skip next 3 st, [4 dc in next, skip next 3 st] 12 times, sl st to 3rd ch to join, (52 dc).
Round 3: Ch 1, sc into each st around, sl st into 1st st, (52 sc).
Round 4: Repeat Round 2 (52 dc).
Round 5: Repeat Round 3 (52 sc).
Rounds 6 – 15: Keep alternating Rounds 2 & 3, ending with Round 3 repeat, (52 sts).
Round 16: (Ch 3, 2 dc) in same st, [skip next 4 st, 3 dc in next] 4 times, skip next 5 sts, 3 dc in next, [skip next 4 st, 3 dc in next] 4 times, skip last 5 sts, sl st to 3rd ch to join, (30 dc)
Round 17: Ch 1, sc3tog 10 times, sl st to join, (10 sc). FO leaving a long tail. Use the tail to tighten up the opening, and weave in the ends. Attach Pom Pom if desired.
MAKE A SHORTER TODDLER HAT/BEANIE BODY: 7” hat length.
- Work Brim as written.
- Work Hat Body as written from Round 1 – 11.
- Work instructions for Round 16-17 in place of Round 12 – 13.
Child Slouchy Pattern:
- Finished size should be approximately 9” across x 10” length.
- Brim is created first in rows, then seamed and hat is worked in the round.
CHILD BRIM:
Row 1: Ch 6, sc in 2nd ch from hook, and next 4 chs, (5 sc).
Row 2: Ch 1, turn, work in BLO, sc in each st, (5 sc).
Row 3-56: Repeat Row 2, (5 sc, 54 rows). Do not FO. Bring the ends together and seam together by sl st through both loops of Row 56 and beginning chain. Turn the seam to the inside, and continue with instructions for the rest of the hat below.
CHILD SLOUCHY HAT BODY: Work along the top edge of the brim.
Round 1: Ch 1, work 56 sc evenly around top of the brim, sl st to join, (56 sc).
Round 2: Ch 3 (counts as 1st dc here & throughout), 3 dc in same, skip next 3 st, [4 dc in next, skip next 3 st] 13 times, sl st to 3rd ch to join, (56 dc).
Round 3: Ch 1, sc into each st around, sl stto join, (56 sc)
Round 4: Repeat Round 2 (56 dc).
Round 5: Repeat Round 3 (56 sc).
Rounds 6 – 17: Keep alternating Rounds 2 & 3, ending with Round 3 repeat, (56 sts).
Round 18: (Ch 3, 2 dc) in same st, [skip next 4 st, 3 dc in next] 10 times, skip last 5 sts, sl st to 3rd ch to join, (33 dc)
Round 19: Ch 1, sc3tog 11 times, sl st to join, (11 sc). FO leaving a long tail. Use the tail to tighten up the opening, and weave in the ends. Attach Pom Pom if desired.
MAKE A SHORTER CHILD HAT/BEANIE BODY: 8” hat length.
- Work Brim as written.
- Work Hat Body as written from Round 1 – 13.
- Work instructions for Round 18-19 in place of Round 14 – 15.
Teen/Small Adult Slouchy Pattern:
- Finished size should be approximately 9.5” across x 11” length.
- Brim is created first in rows, then seamed and hat is worked in the round.
TEEN/SMALL ADULT BRIM:
Row 1: Ch 7, sc in 2nd ch from hook, and next 5 chs, (6 sc).
Row 2: Ch 1, turn, work in BLO, sc in each st, (6 sc).
Row 3-60: Repeat Row 2, (6 sc, 58 rows). Do not FO. Bring the ends together and seam together by sl st through both loops of Row 60 and beginning chain. Turn the seam to the inside, and continue with instructions for the rest of the hat below.
TEEN/SMALL ADULT SLOUCHY HAT BODY: Work along the top edge of the brim.
Round 1: Ch 1, work 60 sc evenly around top of the brim, sl st to join, (60 sc).
Round 2: Ch 3 (counts as 1st dc here & throughout), 3 dc in same, skip next 3 st, [4 dc in next, skip next 3 st] 14 times, sl st to 3rd ch to join, (60 dc).
Round 3: Ch 1, sc into each st around, sl st to join, (60 sc).
Round 4: Repeat Round 2 (60 dc).
Round 5: Repeat Round 3 (60 sc).
Rounds 6 – 19: Keep alternating Rounds 2 & 3, ending with Round 3 repeat, (60 sts).
Round 20: (Ch 3, 2 dc) in same st, [skip next 4 st, 3 dc in next] 11 times, skip last 4 sts, sl st to 3rd ch to join, (36 dc)
Round 21: Ch 1, sc3tog 12 times, sl st to join, (12 sc). FO leaving a long tail. Use the tail to tighten up the opening, and weave in the ends. Attach Pom Pom if desired.
MAKE A SHORTER TEEN/SMALL ADULT HAT/BEANIE BODY: 8” hat length.
- Work Brim as written.
- Work Hat Body as written from Round 1 – 13.
- Work instructions for Round 18-19 in place of Round 14 – 15.
Large Adult Slouchy Pattern:
- Finished size should be approximately 10.5” across x 12” length.
- Brim is created first in rows, then seamed and hat is worked in the round.
LARGE ADULT BRIM:
Row 1: Ch 7, sc in 2nd ch from hook, and next 5 chs, (6 sc).
Row 2: Ch 1, turn, work in BLO, sc in each st, (6 sc).
Row 3-64: Repeat Row 2, (6 sc, 62 rows). Do not FO. Bring the ends together and seam together by sl st through both loops of Row 64 and beginning chain. Turn the seam to the inside, and continue with instructions for the rest of the hat below.
LARGE ADULT SLOUCHY HAT BODY: Work along the top edge of the brim.
Round 1: Ch 1, work 64 sc evenly around top of the brim, sl st to join, (64 sc).
Round 2: Ch 3 (counts as 1st dc here & throughout), 3 dc in same, skip next 3 st, [4 dc in next, skip next 3 st] 15 times, sl st to 3rd ch to join, (64 dc).
Round 3: Ch 1, sc into each st around, sl st to join, (64 sc).
Round 4: Repeat Round 2 (64 dc).
Round 5: Repeat Round 3 (64 sc).
Rounds 6 – 21: Keep alternating Rounds 2 & 3, ending with Round 3 repeat, (64 sts).
Round 22: (Ch 3, 2 dc) in same st, [skip next 4 st, 3 dc in next] 12 times, skip last 3 sts, sl st to 3rd ch to join, (39 dc).
Round 23: Ch 1, sc3tog 13 times, sl st into 1st st (13 sc). FO leaving a long tail. Use the tail to tighten up the opening, and weave in the ends. Attach Pom Pom if desired.
MAKE A SHORTER LARGE ADULT HAT/BEANIE BODY: 9” hat length.
- Work Brim as written.
- Work Hat Body as written from Round 1 – 15.
- Work instructions for Round 22-23 in place of Round 16 – 17.
Make the Matching Sweet Stripes Set
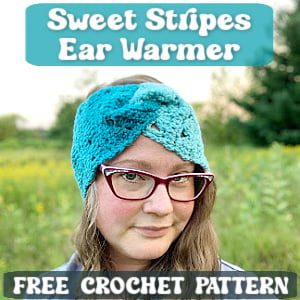
The Sweet Stripes stitch shows up across a whole collection of my patterns, so this beanie has plenty of company. Here are the Sweet Stripes accessory pattern you might want to pair with this slouch hat.
Crochet Beanie FAQs
How much yarn do I need to crochet a beanie?
For this pattern, somewhere between 80 and 180 yards depending on the size you’re making. A baby beanie sits at the low end, a large adult slouch at the high end. Either way you’ll finish with yarn left in the skein, which makes this a good project for using up what you already have.
Can you crochet a hat without a magic circle?
You can. This one starts at the band instead of the crown, so there’s no magic circle anywhere in the pattern. You work the band flat in rows, seam it into a ring, then build the hat up from there and close the top with one decrease round at the very end.
What's the difference between a beanie and a slouchy hat?
Length, mostly. A beanie sits close to your head, and a slouch has extra fabric that gathers at the back for a more relaxed look. If you have longer hair, the slouch gives you room to twist it up and tuck it in, which is handy on the days you’d rather not deal with it. With this pattern you get both from the same instructions, so every size except baby includes directions for either one.
Troubleshoot: Why is my crochet hat too tight?
Usually the band. If it’s worked too tightly, or in both loops instead of back loops only, it won’t stretch the way it should. Working in BLO creates the give. Gauge matters too – more stitches than the pattern calls for means you need to size up your hook.
Troubleshoot: Why does my crochet hat have a pointy top?
That’s usually the decrease happening too slowly or that you’re dropping stitches in later rounds. This pattern uses just two decrease round that greatly decrease the number of stitches. Then you cinch the rest closed with the yarn tail. If yours is peaking, check that you worked the full number of alternating rounds, (and didn’t miss any stitches before the decrease rounds) for your size before the decrease round, and pull that tail good and snug.
Troubleshoot: Why is there a gap where my hat band joins?
Slip stitching through both loops of the final row and the beginning chain is what closes it up, so if you catch only one loop you’ll see a seam. Turn it to the inside once it’s joined and it disappears against your head. If there’s still a little space, the yarn tail will close it in a few stitches.
Please Share your Sweet Stripes Beanies Online!
To be honest, I don’t think you’re going to make just one of this hat pattern! With five sizes and two lengths included, somebody’s going to try yours on, and then you’ll be back here later in the year, making three more in different colors. So save this post now, because you’ll want the size chart again, and probably the band photos too!
I would love to see your fab projects on Ravelry and social media! Please tag me in your photos so I can see what you’ve made! I simply love getting to see the amazing projects y’all have made with my patterns! It’s the reason I do what I do!! (Plus the yarn benefits are pretty awesome too!! )
If you enjoyed the free Sweet Stripes Crochet Beanie pattern and you would like to see more Free Crochet Patterns (<– like these) going forward, please help me grow by sharing Blog Post and subscribe to my newsletter?!? You can use the social media buttons below the post to easily share! Thank you so much for your amazing support! If you have any questions or need assistance with the pattern, feel free to contact me or leave a comment on the blog. I would love to help!
Happy Hooking!
Want the Power to Pause Your Project??
Want a better way to keep track of your works in progress? Download a FREE copy of my Printable WIP Cards and never forget which hook, or yarn, or pattern you were using again!